Migrate to Lemon Squeezy
Learn how to migrate your NextKit project to Lemon Squeezy
If you prefer using Lemon Squeezy instead of Stripe with your NextKit kit, we provide a different branch from the main repository that you can use.
The branch is called main-ls. If you want to use Lemon Squeezy, you can clone the repository and checkout the main-ls branch.
NB: the integration is in beta, and I am working on improving it.
Setting up Lemon Squeezy
Step 1: Create a Lemon Squeezy account
First, you need to create a Lemon Squeezy account. You can do so by visiting https://lemonsqueezy.io.
Get your store setup (start in Test mode, so you don't need to wait for activation).
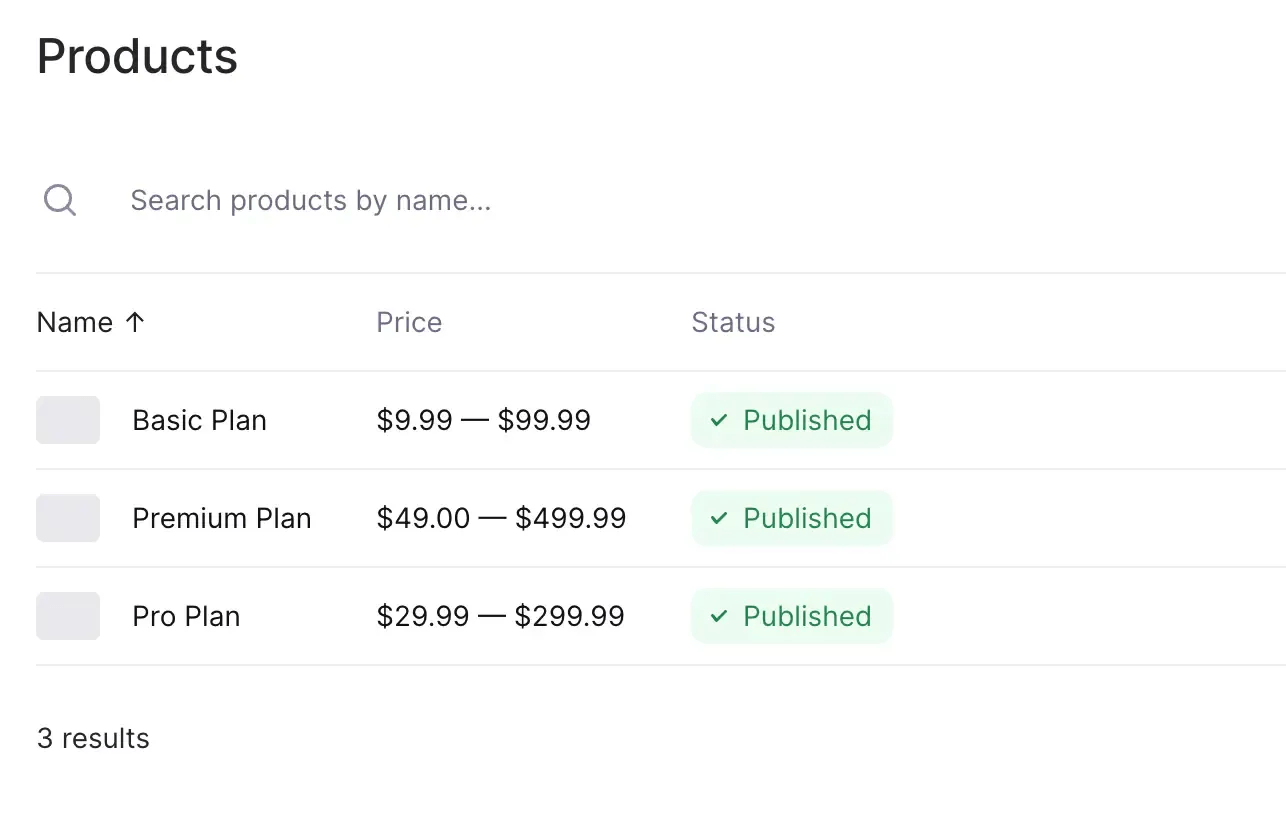
Step 2: Create a Product/Variant in Lemon Squeezy
You can see this guide for setting up SaaS subscription plans in Lemon Squeezy.
If you want, set up a monthly/annual plan for your product, or just a single plan.

To replicate the basic NextKit subscription plans, you can create a plan for each of the following: Basic, Pro and Premium plans.
To get started quickly, you can also set up a single plan for your product.
Step 3: Create a Lemon Squeezy API key
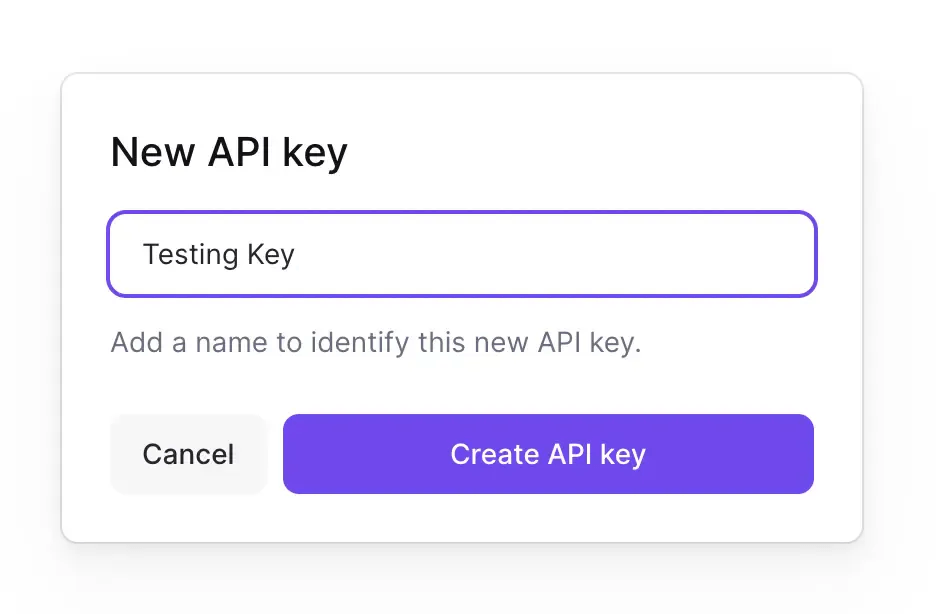
Now, we need to setup an API Key. Go to your Lemon Squeezy settings page and click on the API Keys tab.
Click on the "Create API Key" button and give it a very specific name, so you won't confuse it with your production keys. Copy the API key and ensure to store it. We will be adding this to your NextKit's local environment variables file.

Depending on which kit you're using, you will add this key to either .env.local (Next.js) or .env (Remix). This key is not supposed to be committed to your repository, so we add them safely to our local files.
Additionally, we need to add the LEMON_SQUEEZY_STORE_ID to the local environment variables file, and a secret string LEMON_SQUEEZY_SIGNING_SECRET that we use to verify the webhook signature.
Update them in your local environment variables file:
bashLEMON_SQUEEZY_API_KEY=<YOUR_KEY>
LEMON_SQUEEZY_STORE_ID=<YOUR_STORE_ID>
LEMON_SQUEEZY_SIGNING_SECRET=<a random string>
Find your Lemon Squeezy Store ID
To find your Lemon Squeezy Store ID, visit your Stores page in the Lemon Squeezy dashboard.
You can do so by visiting the following URL: https://app.lemonsqueezy.com/settings/stores.
The ID is the number next to the store name.
Proceed by copying the Store ID into the LEMON_SQUEEZY_STORE_ID environment variable.
Step 4: Configure Lemon Squeezy plans in the NextKit configuration
Now, we need to configure the Lemon Squeezy plans in the NextKit configuration, and enter the correct plan IDs.
To do so, open the ~/configuration.ts file and edit the stripe object.
We can convert this to something more abstract, such as subscriptions, and add the relevant Lemon Squeezy product and variant IDs.
ts{
  subscriptions: {
    products: [
      {
        name: 'Basic',
        description: 'Description of your Basic plan',
        badge: `Up to 20 users`,
        productId: 1, // <-- Lemon Squeezy product ID
        features: [
          'Basic Reporting',
          'Up to 20 users',
          '1GB for each user',
          'Chat Support',
        ],
        plans: [
          {
            name: 'Monthly',
            price: '$9',
            variantId: 1, // <-- Lemon Squeezy variant ID
          },
          {
            name: 'Yearly',
            price: '$90',
            variantId: 2, // <-- Lemon Squeezy variant ID
          },
        ],
      }
    ]
  }
}Note: The variantId is the ID of the plan in Lemon Squeezy. The productId is the ID of the product.
Find your Lemon Squeezy product and variant IDs
You can find your Lemon Squeezy Product and Variant IDs using the Lemon Squeezy dashboard.
Step 4: Creating the Webhook In Lemon Squeezy
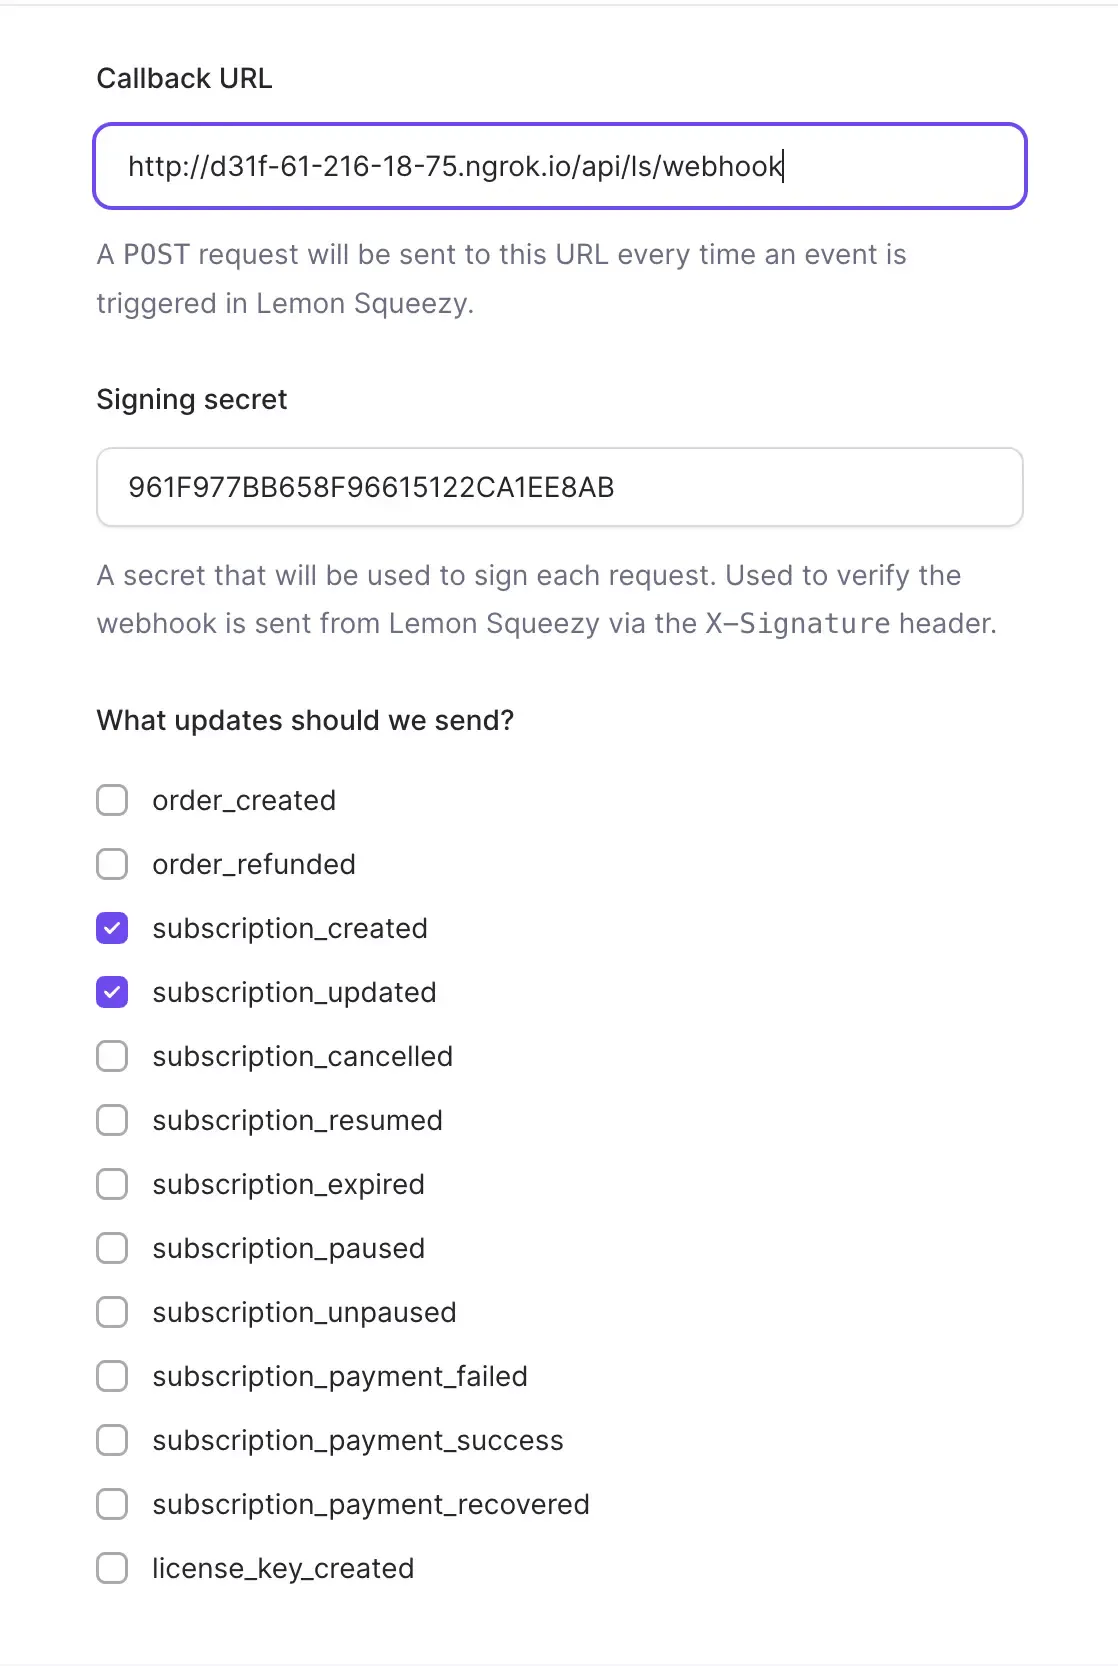
We need to create a Webhook from the Lemon Squeezy Dashboard so that we can receive the events to our webhook handler.
You will be prompted for the following:
- URL: point it to the ngrok URL (see below). Ensure you point it to the
/api/ls/webhookendpoint. - Secret: the secret
LEMON_SQUEEZY_SIGNING_SECRETthat you have set in the.envfile - Events: select the events that you want to receive. In our case, we want to receive the
subscription_createdandsubscription_updatedevents.

Testing Locally
To test the webhook handler locally, we can use the ngrok tool.
We add the following command to the package.json file:
json"ngrok": "npx ngrok http 3000"And you can run it with:
bashnpm run ngrokYou can also use other alternatives, such as Localtunnel or Cloudflare Tunnel.
Step 5: Go to production
Once you're ready to go to production, you can switch your Lemon Squeezy store to production mode.
Additionally, remember to set up the webhook in production mode as well, pointing to your production URL.